


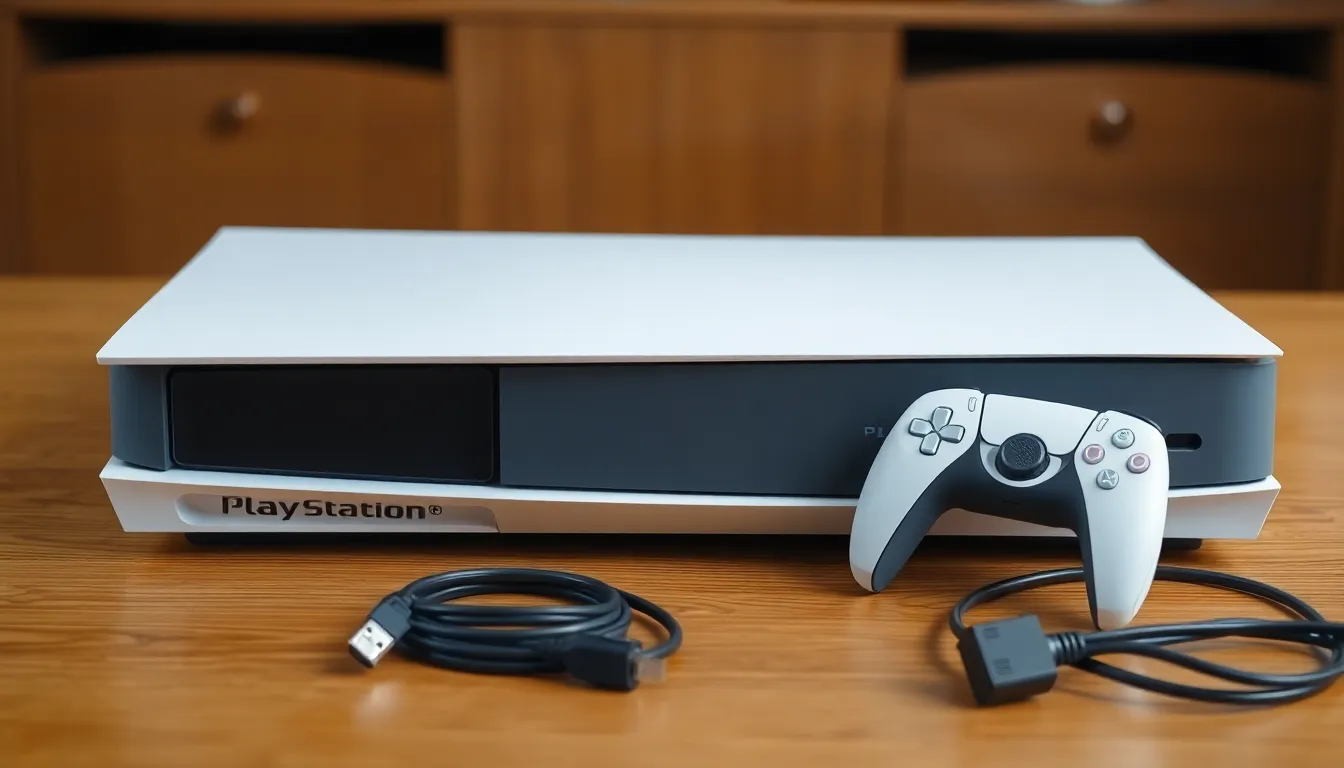
The PlayStation 5 has taken the gaming world by storm, delivering stunning graphics and immersive experiences. However, like any electronic device, it can accumulate dust and debris over time, affecting its performance. Regular cleaning is essential to keep this powerhouse running smoothly and extend its lifespan.
Opening a PS5 might seem daunting, but with the right guidance, it can be a straightforward process. This article will walk gamers through the steps to safely open their console, ensuring they can maintain optimal performance without risking damage. Whether you’re a seasoned gamer or a newcomer, understanding how to clean your PS5 is crucial for an uninterrupted gaming experience.
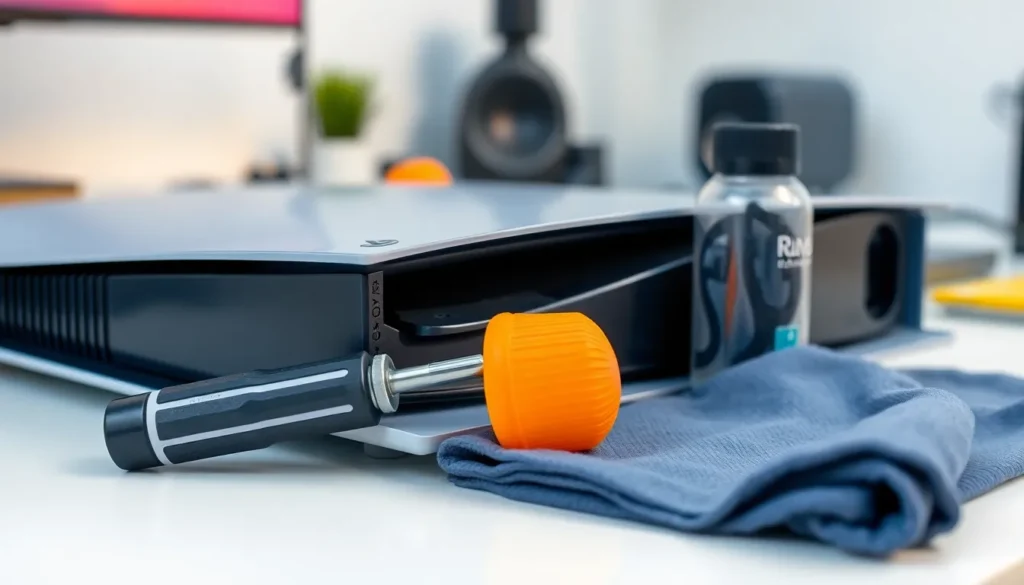
Tools Needed for Cleaning Your PS5
Cleaning the PS5 requires specific tools to ensure safety and effectiveness. Gather the following items before starting the cleaning process:
- Phillips-head screwdriver: Use this to remove screws securely without damaging the console.
- Can of compressed air: Utilize compressed air to blow dust out of hard-to-reach areas without touching components.
- Microfiber cloth: Employ this soft cloth for wiping surfaces gently, preventing scratches.
- Soft brush: Apply a soft brush to dislodge dust from vents and fans.
- Tweezers: Consider using tweezers for handling small parts more conveniently.
- Anti-static wrist strap: Wear this strap to prevent static electricity from damaging sensitive components.
These tools facilitate efficient cleaning and help maintain the PS5’s performance. Having them ready simplifies the process and minimizes damage risk.
Safety Precautions
Cleaning the PlayStation 5 requires attention to safety. Following these precautions ensures a safe and effective cleaning process without damaging the console.
Powering Down Your Console
Powering down the console before cleaning is crucial. Turn off the PS5 completely by pressing the power button until it beeps twice. Unplug the power cord from the outlet afterward to eliminate any risk of electric shock. Allow the console to cool for at least 10 minutes if it has been in use.
Removing Cables and Accessories
Removing all cables and accessories prepares the console for cleaning. Disconnect the HDMI cable, USB cables, and any external devices to prevent damage during the process. Store removed items in a safe location to avoid misplacement. Ensure that the console is free from dust and debris on the ports for optimal connectivity once reassembled.
Step-by-Step Guide on How to Open PS5 to Clean
This section provides clear instructions on how to properly open a PS5 for cleaning. Following these steps ensures access to all necessary components without damaging the console.
Removing the Side Panels
- Place the PS5 on a flat, clean surface to prevent scratches.
- Grab the console’s top-left corner with one hand, using the other hand to pull the side panel away gently.
- Slide the side panel towards the back of the console until it unclicks, then lift it off completely.
- Repeat the process for the bottom panel, ensuring a careful grip to avoid cracking or damaging the plastic.
Accessing the Internal Components
- Locate the screws securing the chassis; these are typically obscured by warranty stickers.
- Use a Phillips-head screwdriver to remove the screws, ensuring a secure grip to avoid stripping.
- Gently lift the top cover off to expose the internal components, including the fan and heatsink.
- Be mindful of any cables, avoiding unnecessary tugging or pulling.
- Once open, proceed with cleaning using compressed air to remove dust from the fan and heatsink, and use a microfiber cloth for other surfaces.
Cleaning the Internal Parts
Cleaning the internal parts of the PS5 is crucial for maintaining optimal performance. Following proper techniques ensures effective dust removal without damaging sensitive components.
Dust Removal Techniques
Utilizing effective dust removal techniques enhances the performance of the PS5.
- Use compressed air to blow out dust from all internal components. Hold the can upright and maintain a distance of about six inches from the surfaces.
- Aim the air into the fan blades, heatsinks, and any vents to dislodge accumulated dust.
- Avoid using a vacuum cleaner, as it may generate static electricity that can damage electronic parts.
- Employ a soft brush to gently sweep away any stubborn dust particles that stick to surfaces. This approach minimizes the risk of scratching delicate components.
Cleaning the Fans and Heatsinks
Cleaning fans and heatsinks significantly improves airflow and cooling efficiency.
- Locate the fan and heatsinks after removing the console’s cover. Ensure no cables obstruct access.
- Carefully use compressed air on the fan’s blades to clear dust and debris. Rotate the fan slowly to reach all angles.
- Dust the heatsinks with a soft brush to clear out dust buildup. This promotes better heat dissipation and protects the components.
- After cleaning, assess the fan’s movement. Ensure it spins freely without obstruction. A well-maintained fan contributes to efficient cooling and extends the console’s lifespan.
Reassembly Process
The reassembly process is crucial for ensuring the PlayStation 5 operates smoothly after cleaning. Following the proper steps enables a secure fit and protects the internal components.
Securing the Side Panels
Securing the side panels involves a few simple steps. First, position the panels back onto the console, ensuring alignment with the edges. Next, press down gently to snap each panel into place, listening for a click that confirms proper attachment. Check that both panels sit flush against the console body, indicating a secure fit. Verify that no gaps exist between the panels and the console. This alignment prevents dust and debris from re-entering the system and ensures optimal performance.
Cleaning the PS5 is essential for maintaining its performance and longevity. By following the outlined steps and using the right tools, gamers can effectively remove dust and debris that accumulate over time. Taking safety precautions is crucial to avoid any damage during the process.
Proper reassembly ensures that the console remains protected from future dust buildup. With regular maintenance, players can enjoy uninterrupted gaming sessions and keep their system running smoothly. A clean console not only enhances performance but also contributes to a better gaming experience overall.